Dwelling Envy Interiors

How We Made an Impressive Artificial Tree for Our Home
by KRISTIN PATRICIAN

by KRISTIN PATRICIAN

OWNER & PRINCIPAL DESIGNER OF DWELLING ENVY INTERIORS

Date

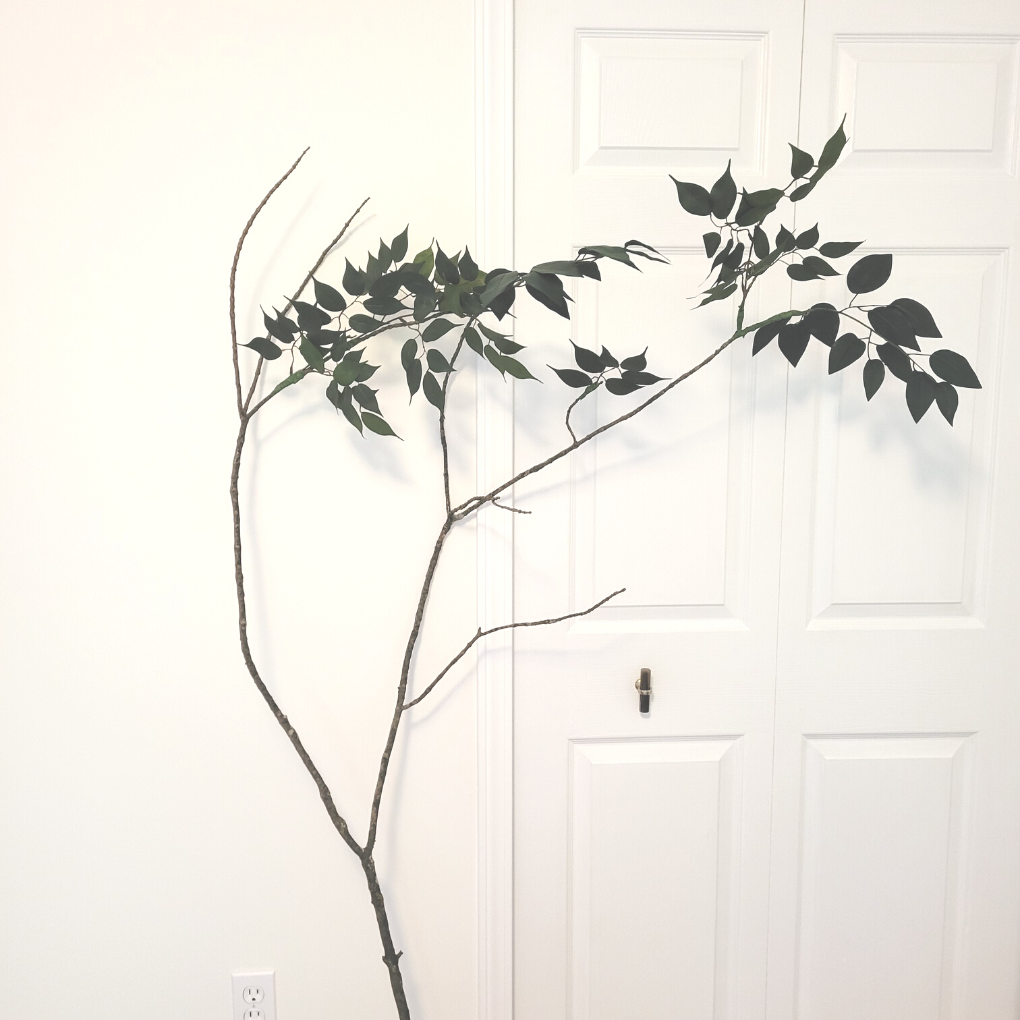
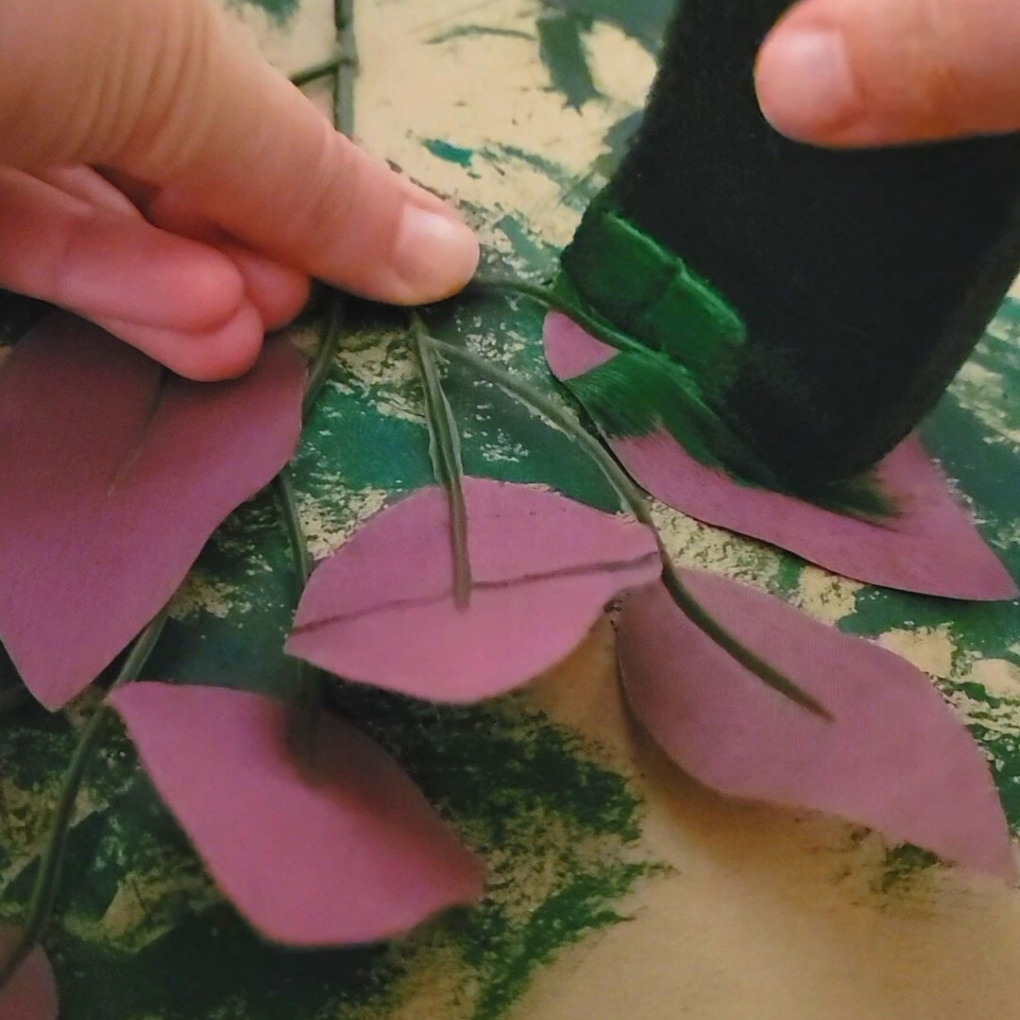
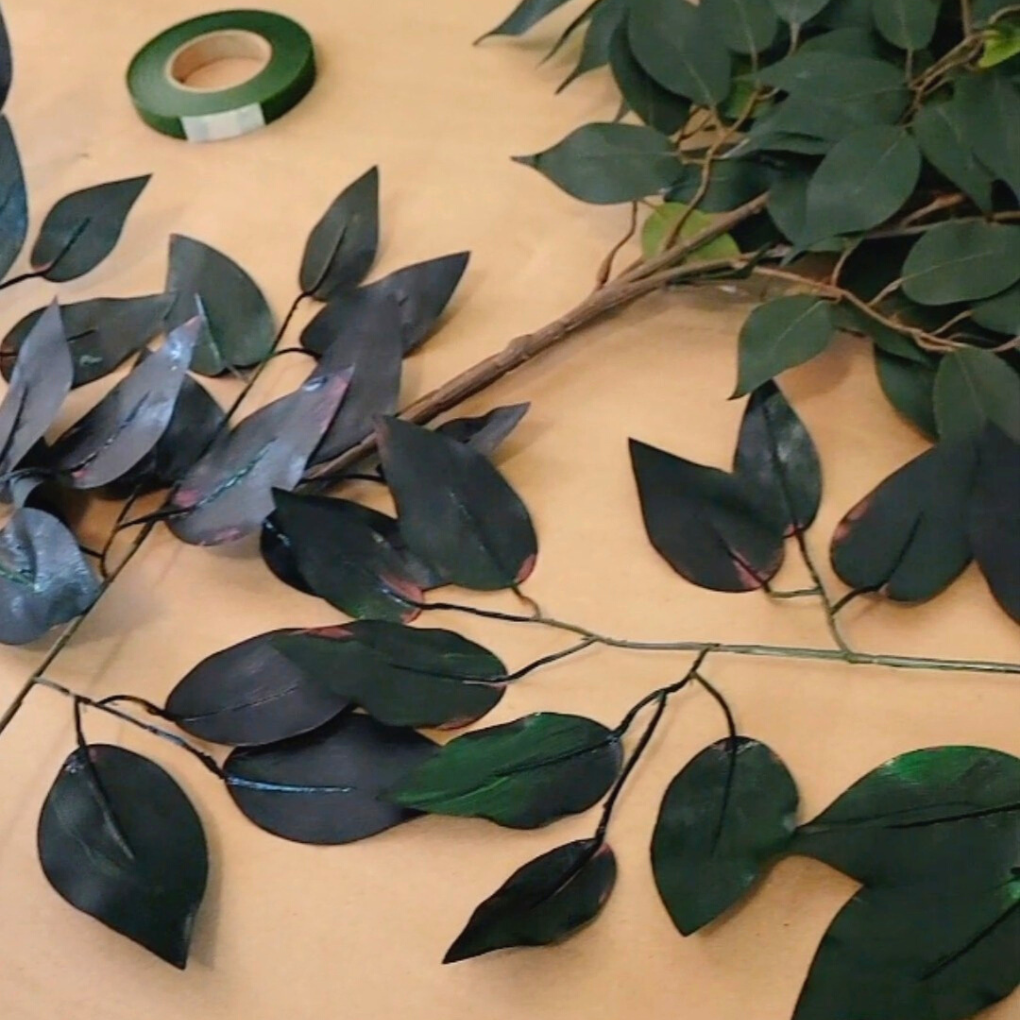
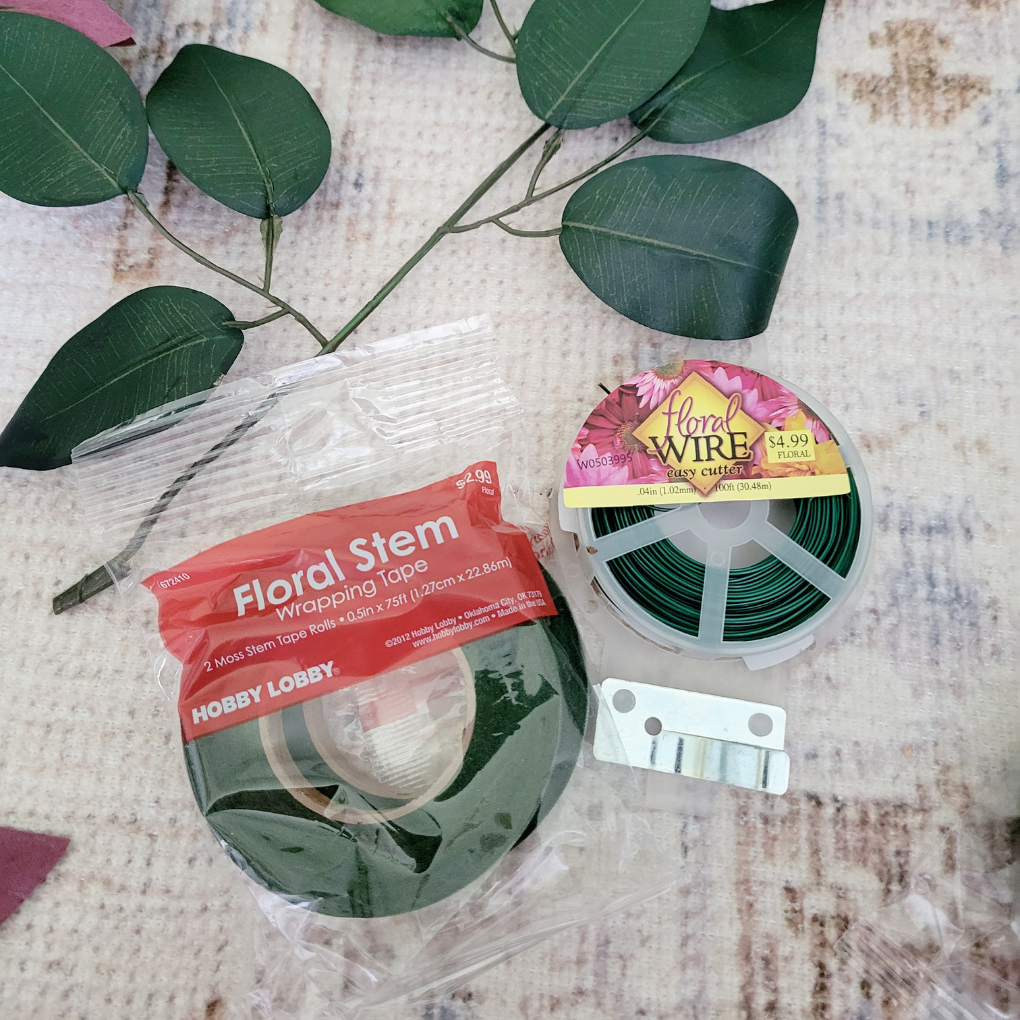
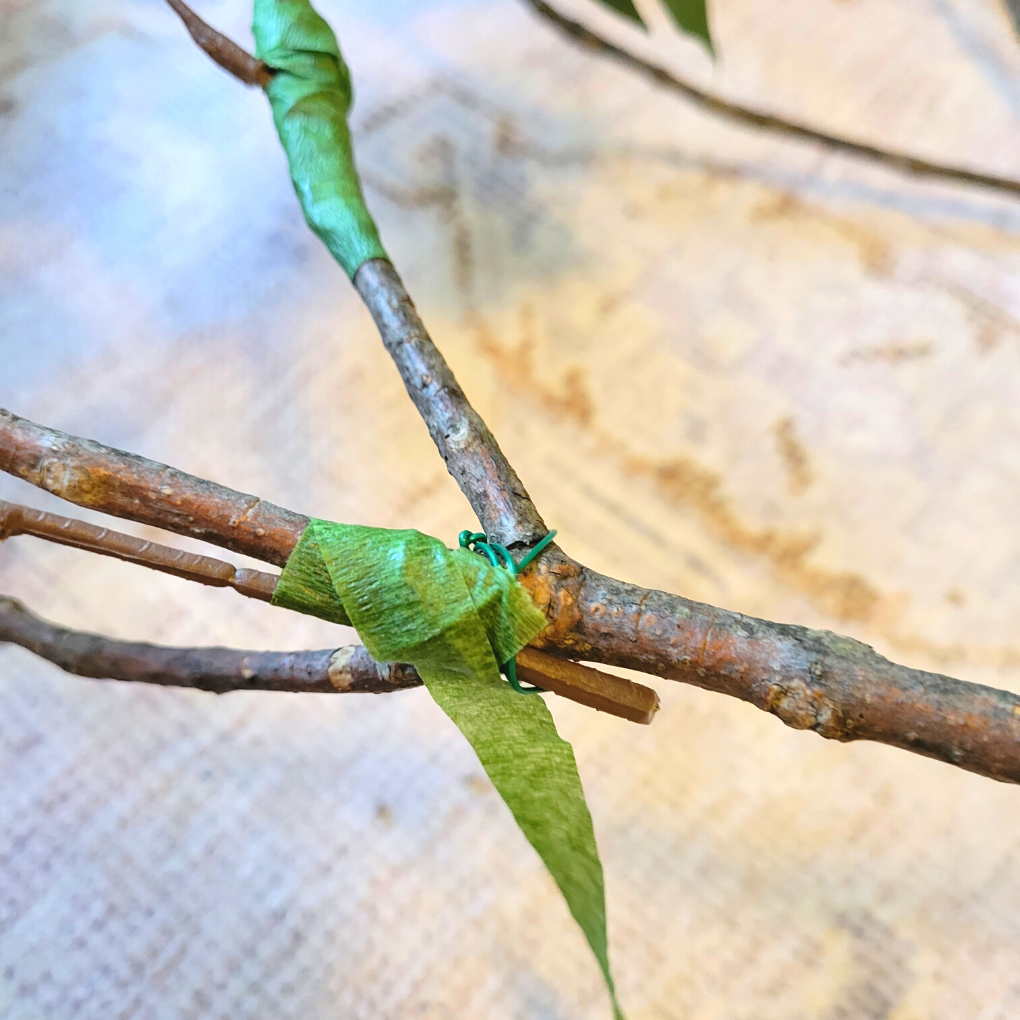
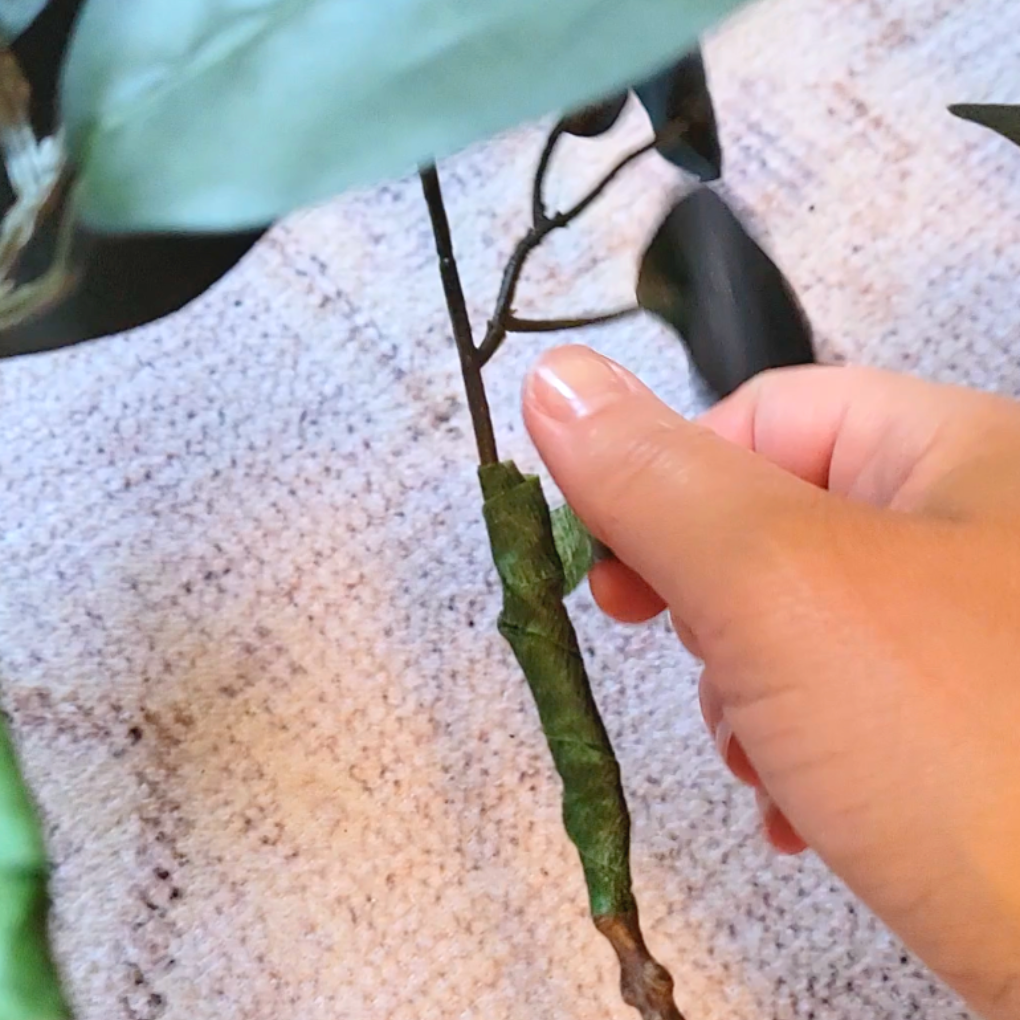
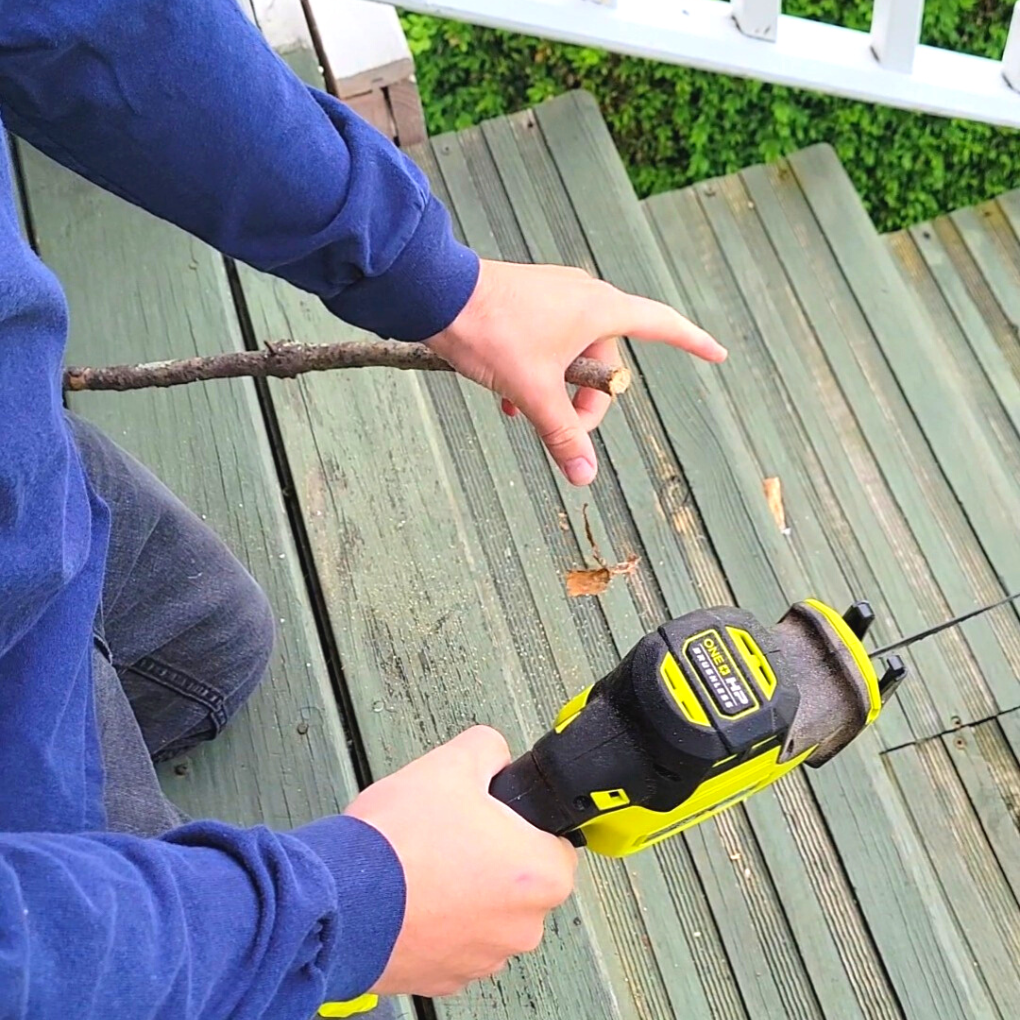
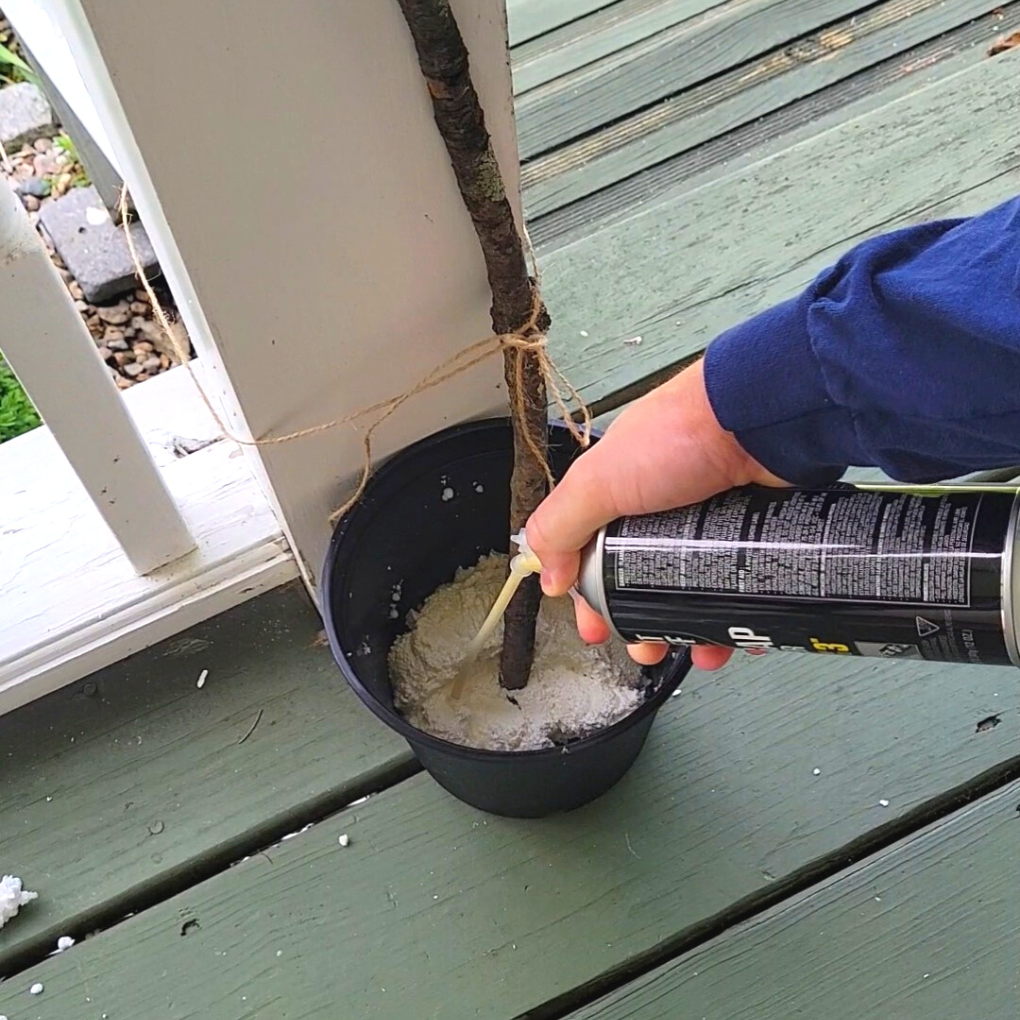
We have to start this blog out by saying, this is NOT a unique idea…  We found SEVERAL tutorials, IG Reels, and You-tubers, showing us how they created a Faux Tree for $50 or less.  And so we decided to embark on this journey to add a tall and natural looking artificial tree to use in our bedroom, thinking what harm can it do….

Well, after a few failed attempts, we finally finished!  If you’re looking for a fool proof guide on “how to” DIY a faux tree, this may not be the blog post for you.  BUT – we will walk you through all the steps we took and tools we used to hopefully inspire you to do the same! 

**Please note this blog may contain affiliate links which means Dwelling Envy Interiors may receive a small commission at no additional cost to you!**

To be as transparent as possible, this was not a super easy DIY for us.  It took us about a month to really commit and complete this tree from start to finish.  It definitely was a “labor of love” type project, but we will say, that we’re really amazed with how it turned out.  Our take aways are  

1) It cost way less than what it would have cost if I purchased new from a store 

2) Its exactly the right size for what I need and 

3) We had creative control! 

So in the end, we’re really happy with how ours came out, and the unique look it brings to our space!  

Here’s how we did it…

THE

SUPPLIES

– A Branch / Old Stem from an Outdoor Tree ( we used a fallen branch)

– Small Plastic Plant Pot & Larger Decorative Pot

– Spray Foam

– Vase Filler (we used white rocks – but moss is also a good option)

– Faux Leaves ( we repurposed an faux tree we purchased on clearance, but you can use leafy vines as well)

– Wire Cutters

– Floral Stem Wrapping Tape

– Floral Wire

– Paint & Paint Brushes ( we used acrylic paint that we already had)

– Hand or Electric Saw

*LINKS TO OUR SUPPLIES AVAILABLE AT THE BOTTOM OF OUR PAGE

The first step is finding the right size branch. When we read some tutorials that measured the room height they planned to use the tree in, and cut an existing branch from a tree using a chainsaw. Fortunately for us, we had plenty of already fallen-down branches, so we skipped the chainsaw altogether!

Things to consider when finding the right branch:

1.) Think of where your tree will be place & either find or cut to size the right branch

2.) Find a branch that isn’t too top heavy as this will pose a problem when you create your base.

3.) An ideal branch will have several smaller branches so you can add your faux leaves easily!

Our next step after finding the right branch was to start placing the faux leaves sporadically on our branch.  We used stems from an old fake tree we bought on clearance for around $39, and cut the stems off as close to the base as possible so we had enough stem to play with when adding to our branch.  We also grabbed a few larger stems similar in style from Hobby Lobby so there’d be a better mix of greens, textures, and dynamic presences to the look of our tree.

Some of our stems (from the clearance tree we purchased) had a weird red underside, was bothering us so we decided to paint them.  Using a mix of greens, blacks, and brown acrylic paints, we painstakingly painted over the red, which created much more realistic looking leaves.  This process was a bit messy and annoying, but well worth it in the end.  

Next, while those stems were drying, we started placing some of the larger faux stems we purchased on our branch.  A lot of tutorials go into great detail on how to properly attach your stems, however, since “winging” is sorta what you’re doing when making these things anyway, here’s how we did ours.

Eyeballing where stems should be placed and cut off any excess stem, then began wrapping the floral wire around the branch and leaf stem until it was properly secured.  After wrapping the floral wire around both stem and branch, we then went over it again, wrapping them both with lots of floral stem wrapping tape. If you’ve ever used this stuff before then you know its kind-of tacky and workable.  We wrapped the tape around using many layers until it was blended well so you could barely tell what’s underneath!

After countless hours spent tweaking and testing, we finally felt like our leaves on the tree were complete. In-between all of that time spent working with them to make sure everything was just right—we decided it would be best if they had something supporting their weight so as not too bend or break any branches! So creating a sturdy base was our next step!  Our first attempt to use foam board ended in disaster, so we went to plan B and used spray foam instead! Lots of tutorials suggest using quick dry cement, but we decided on spray-foam for its simplicity and affordability! Using 12 oz. Big Gap Filler Insulating Spray Foam Sealant from Home Depot, we cut the end of our branch off so it would lay flat in our small plastic pot, tied the branch to a pole so it would stay straight, then sprayed the foam and waited for it to dry.

Once the foam had expanded and dried, we untied it from our post to continue adding more leaves until finally feeling satisfied with its fullness.  Once we were happy with how it looked, we placed our tree in our bedroom and added just a few more leaves & stems so that would look full enough!  Now it became time again to whip out our paint brushes!  Using similar paint colors as before (minus the green) we mixed blacks, browns with a little bit of white acrylic paint to cover up all the green floral stem tape we used to secure the stems to our branch.  We messed around until it seemed well blended and then went back through with a bit more color to create a natural looking branch, hiding all the green tape!

Lastly, we added the finishing touches! We had this older planters pot originally purchased from Target so I placed my smaller pots inside and used foam board around sides to prop it up. We used white stones to fill our pot, however, I think moss would have been awesome to put in there but our dog loves it too and eats from plants sometimes… so for her safety and our convenience, we used the bag of white stones we had lying around in our garage.  And that is how we completed our DIY Artificial Tree for our Bedroom!  Though this took MUCH longer than I expected, I’m happy with the results. I’m glad I have some leftover stems for when I’m feeling motivated to add, but for now, I’m happy with it as is.  I’m also thinking we’ll invest in a larger size planter base at some point, but for now,  we’re using what we had lying around!    

If you’re feeling inspired to take on a similar project, check out our products links below for supplies!  Plus, our easy-to-follow instructions make it simple for anyone to complete this project. So what are you waiting for? Get started today and create your very own DIY Artificial Tree!  

Not feeling like this is right for you?  We got you covered, check out our LTK SHOP post for Our Favorite ready to purchase Faux Trees!  We hope our DIY Hack & Tips have helped you start to think about how to get your own artificial tree for your own space!  Thanks so much for reading, ’til next time!

More
articles