Author, Owner & Principal Designer of
Dwelling Envy Interiors
Date
In our last blog, you know we got all in the holiday spirit. But there are times when this time of year can put a strain on the budget; making it both one of the “most wonderful” and worst time of the year! When we were gathering our home decor finds for our Holiday Trend Blog, we fell in love with this particular item from Studio McGee’s Holiday Launch with Target. However, this particular item, we felt we could recreate this to look not only better but cheaper!
And our motto is, why spend money when you don’t have to? So we set out to see if we could really execute The Best Studio McGee Inspired DIY Wreath, to see how close we could get to our inspiration. Keep reading to see how our experiment went, and if it was worth it!
**Please note this blog may contain affiliate links which means Dwelling Envy Interiors may receive a small commission at no additional cost to you!**
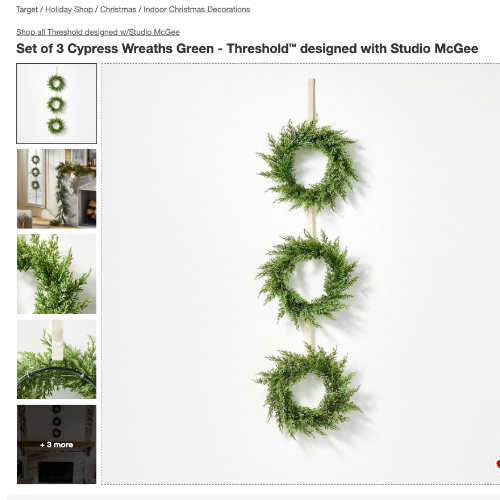
The Inspiration
Here is the inspiration for our DIY Wreath. We love the look, but we thought the ribbon sorta looked cheap and dingy. Check out the supplies we used to create our own version!
Supplies We Used
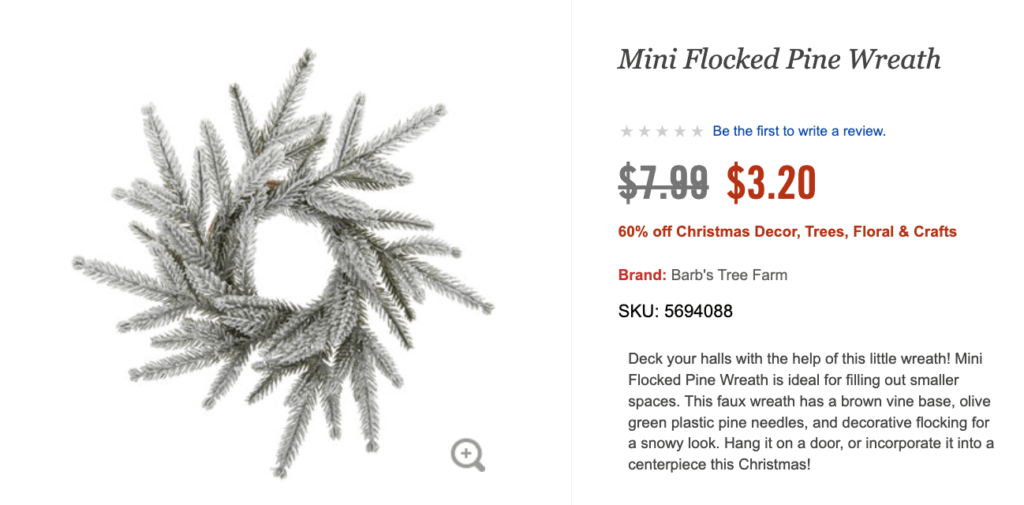
12″ Flocked Wreaths
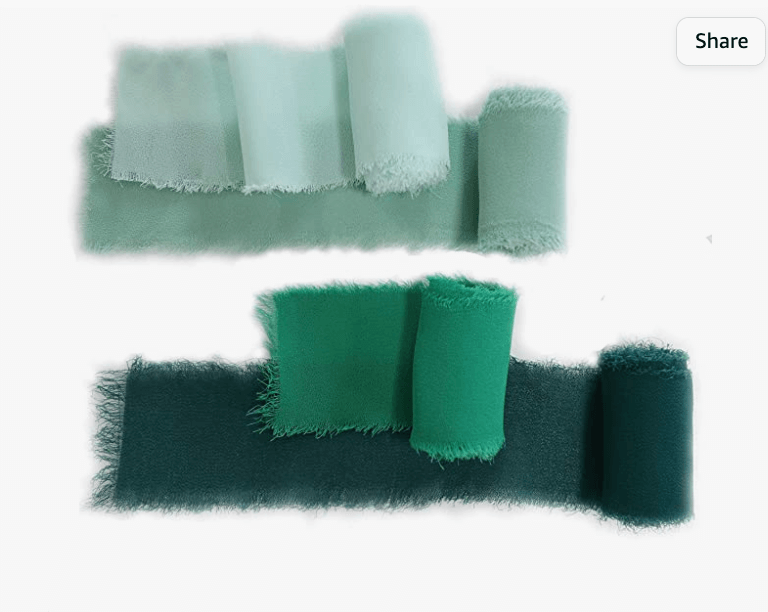
Fringed Velvet Sage Green Ribbon
Glue Gun
Scissors
Tape Measure or Ruler
1.) Gathering Our Supplies
DIY can be cheaper than buying original, but you have to be mindful of where you source your materials.
Because part of the thrill for us was recreating the look for less than $25, we sourced our wreaths and ribbons from Hobby Lobby.
Below is the specific wreath we used and an alternative ribbon option (the one we used is no longer in stock!)
You don’t need a glue gun, you can absolutely use a different type of glue. We just what we had, which is the other rule for our DIY’s – use what you have!
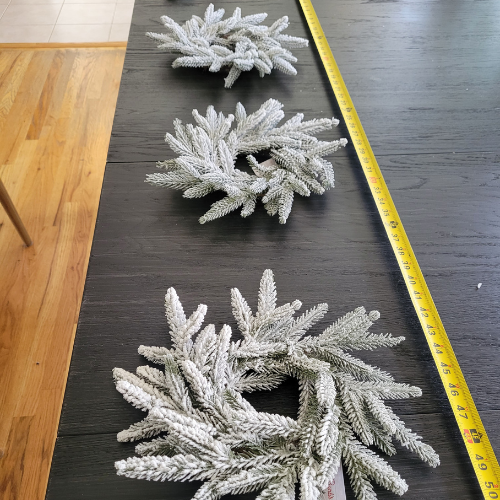
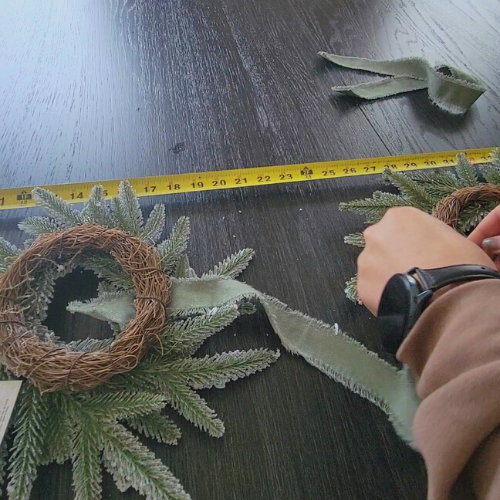
2.) Planning It Out
Depending on where you want to hang your finished wreaths, we suggest planning it out first and measuring. For us, we measured our length to be 52 inches. Note: The Studio McGee Version measures 36″ long.
SIDE NOTE: This is the beauty of DIY for us. You can use something as inspiration, and then adapt it to cater to your specific needs with a little finessing.
Once we confirmed our total length, we spread out our 3 wreaths along our tape measure and eyeballed where we wanted our wreaths to be positioned. Placing the last wreath right at the 52-inch mark on our measuring tape.
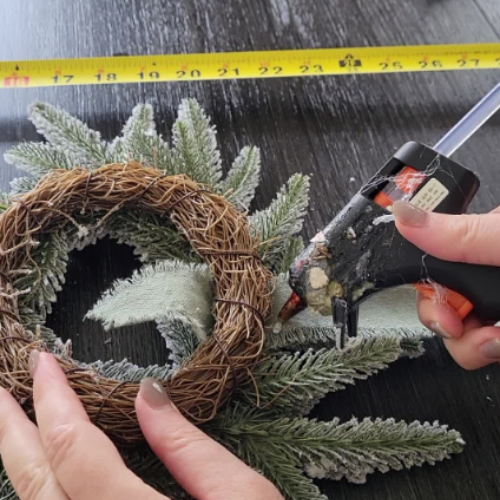
3.) Applying the Ribbon
After positioning our wreaths where we wanted them to lay, we measured the length between each wreath. Ours were approximately 11.5 inches. We then added 3 extra inches to our desired length, making the entire ribbon length 14.5 inches (11.5 + 3). Note: The extra ribbon length will be used to glue around your wreath frame in the next step.
Taking one end of our strip of ribbon, we flipped over our wreath and slide the ribbon through the back side of the frame. Be careful to avoid the ribbon showing on the front of our wreath.
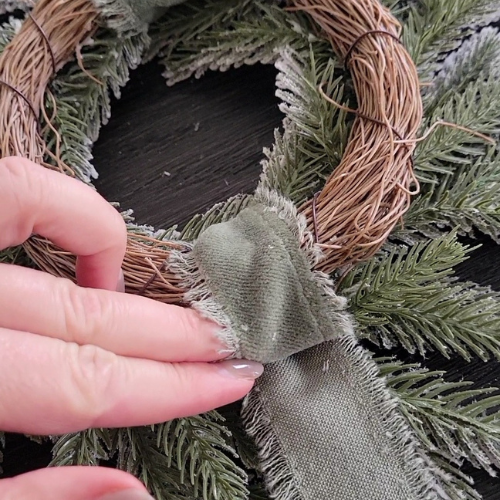
We repeated this step for both sides. Then re-measured the distance of our wreaths, adjusting where necessary. Making sure the space between our wreaths was 11.5 inches.
After confirming our measurement, we applied a small strip of glue to the underside of our ribbon. Then, carefully wrapped the excess ribbon over the frame. Rolling the top side of our ribbon on top of our glue strip and pressing down firmly to make a clean edge.
Repeat these steps until all 3 wreaths are joined together.
3.) Adding Your Topper
After we secured all 3 wreaths with ribbons equal distances apart, it was time to add our top treatment.
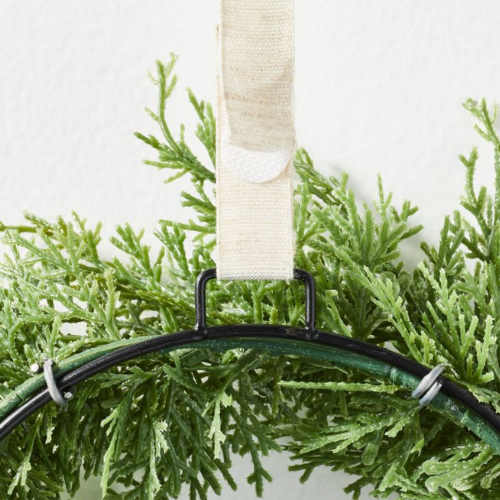
For our top treatment, we doubled our ribbon, wrapping it around the entire top of the wreath (not through the underside of the frame).
We’re adding ours to French Doors, and will be securing ours with some fish wire to the underside of the frame, so we didn’t go too crazy here.
When it comes to your own, here’s where you can get a bit more creative.
– Tie a loose ribbon into a decorative knot on top
– Hang the top wreath directly on a wreath hook
– Add the same or different color ribbon around your top wreath in a neatly tied bow
There are a lot of liberties you can take here, which again, is part of the fun with DIY.
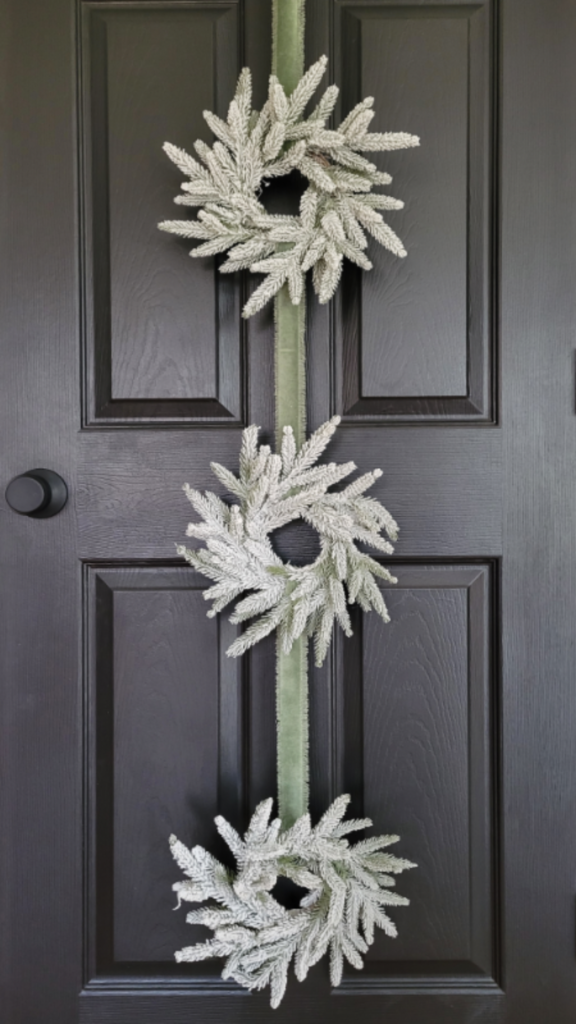
And this is what our finished wreaths look like!
Our Final Thoughts
-> Thanks to the sales we scored at Hobby Lobby, we recreated our Studio McGee Inspired DIY Wreath for around $15. (Hobby Lobby is having an even better sale now than when we purchased our materials, so it would cost you even less!)
-> While we LOVE the look and outcome of our flocked wreaths, but be warned, they were super messy to work with.
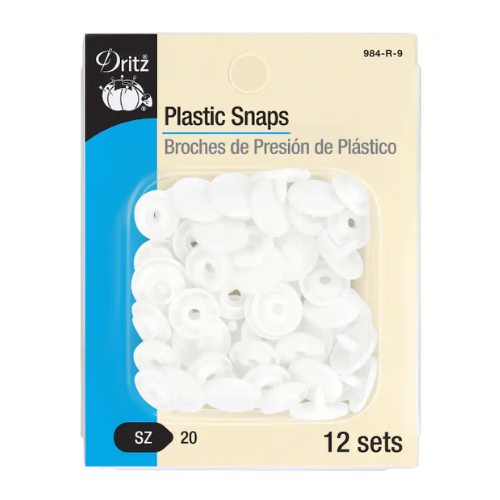
– > One cool thing to note about Studio McGee’s version, the wreaths are interconnected with clasps on their ribbons. So in essence, each wreath can come apart and be usedseparately if desired. If you love this feature, this can easilybe added to our version above by purchasing some plastic snaps and gluing them on your ribbon!
-> We found this DIY to be extremely easy and it took us under and hour to make two sets of wreaths!